
This tutorial was written on Windows 10 using WSL with an O3DE version that
was built from source, on commit e2c4c0e5e3
In the previous article we created and built our project and level. In this article we are creating a start menu.
Create the Start Menu
Next we will create a start menu that waits for player input before starting
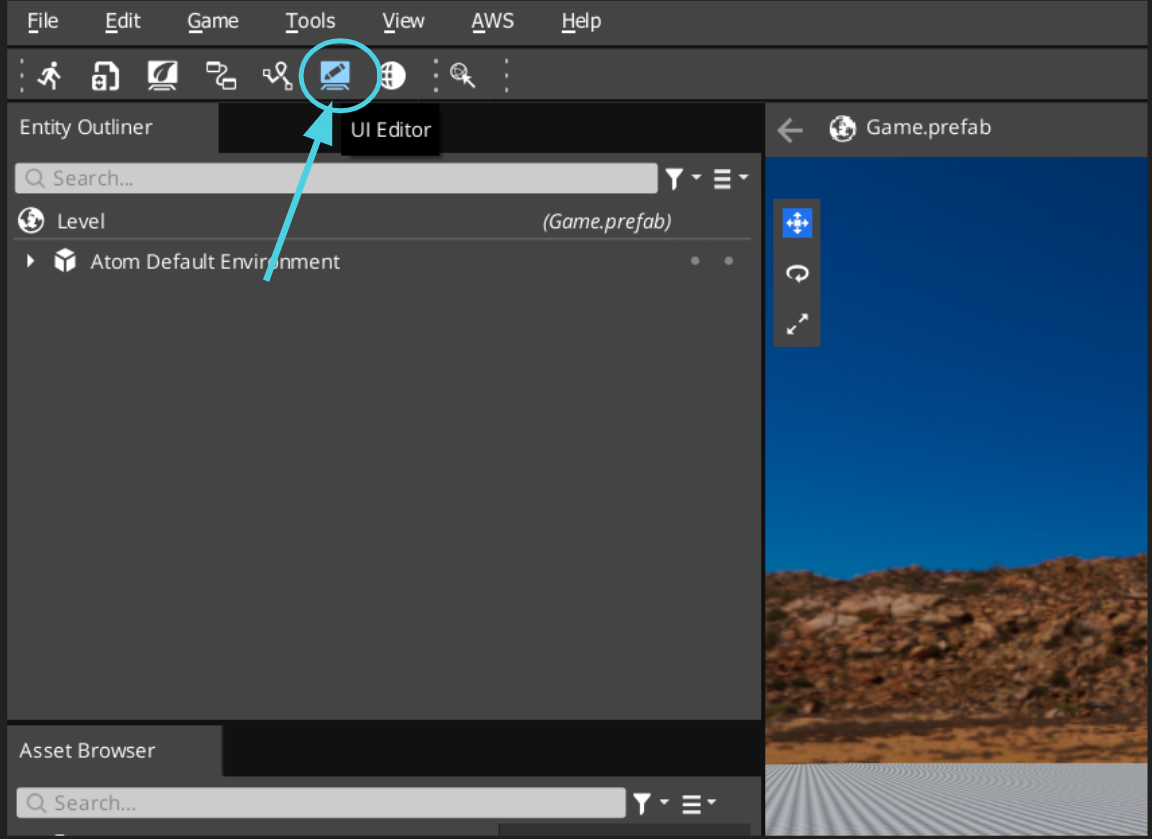
the game. We will create this using the UI Editor which you can open by clicking
on the UI Editor button in the toolbar at the top right of the editor
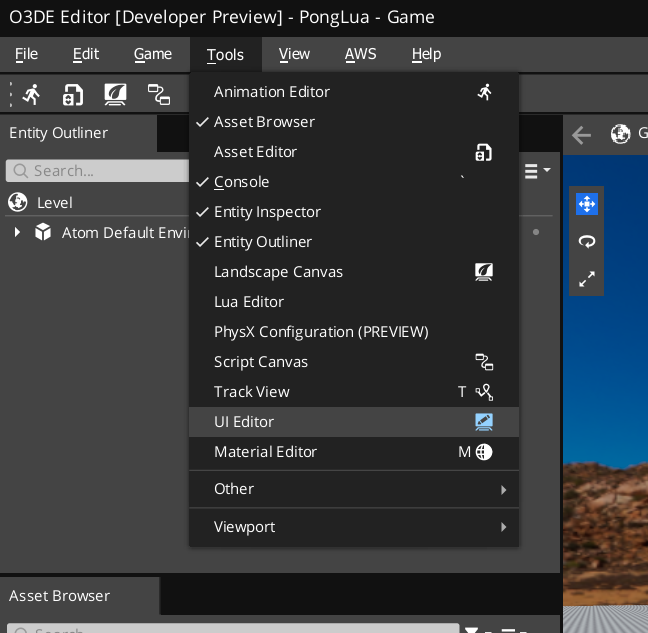
Or from the tools drop down in the main menu.
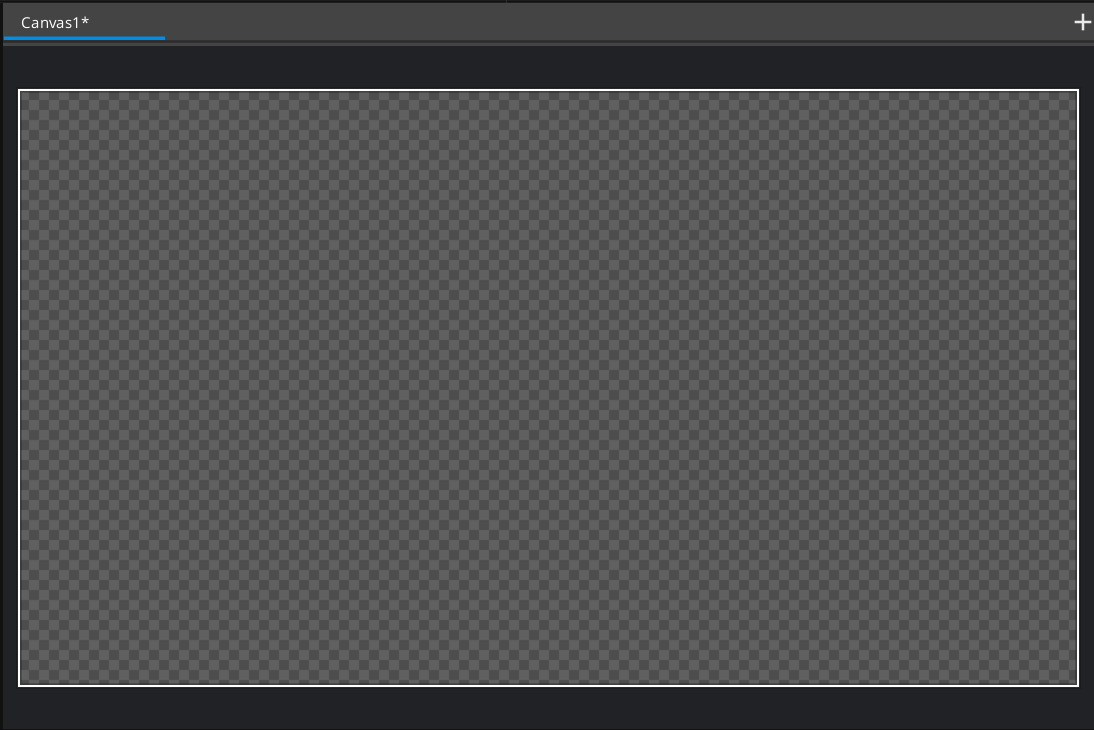
This will present you with the UI Editor Window
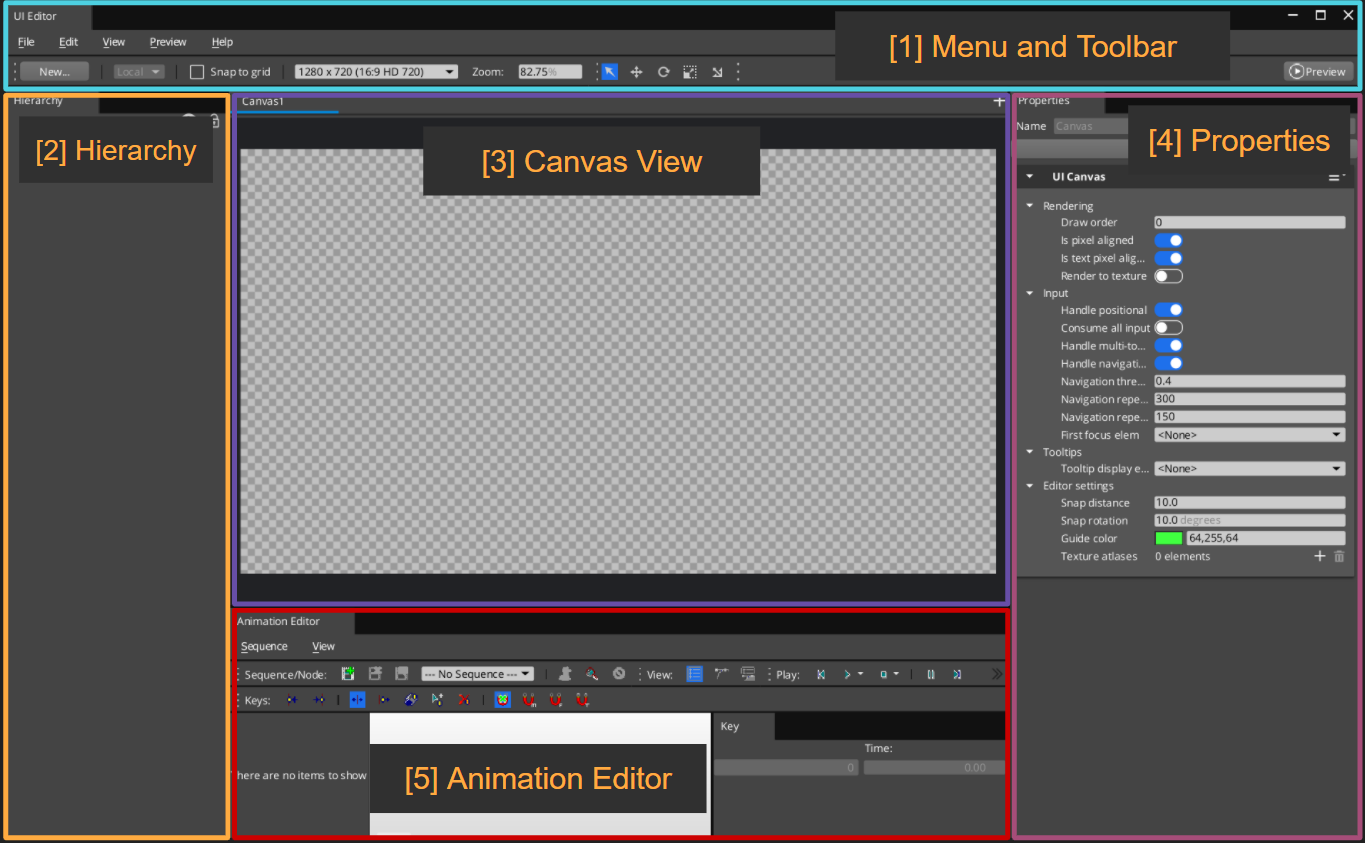
This window is divided up into 4 key sections.
- The menu and toolbar area contains dropdowns and frequently used tools.
- The Hierarchy shows all the elements currently added to this UI asset.
- The Canvas View gives you a WYSIWIG editor for your UI elements.
- The properties area shows detailed and editable information about the currently selected element.
- The animation area allows us to create animations for our elements to make a more dynamic interface.
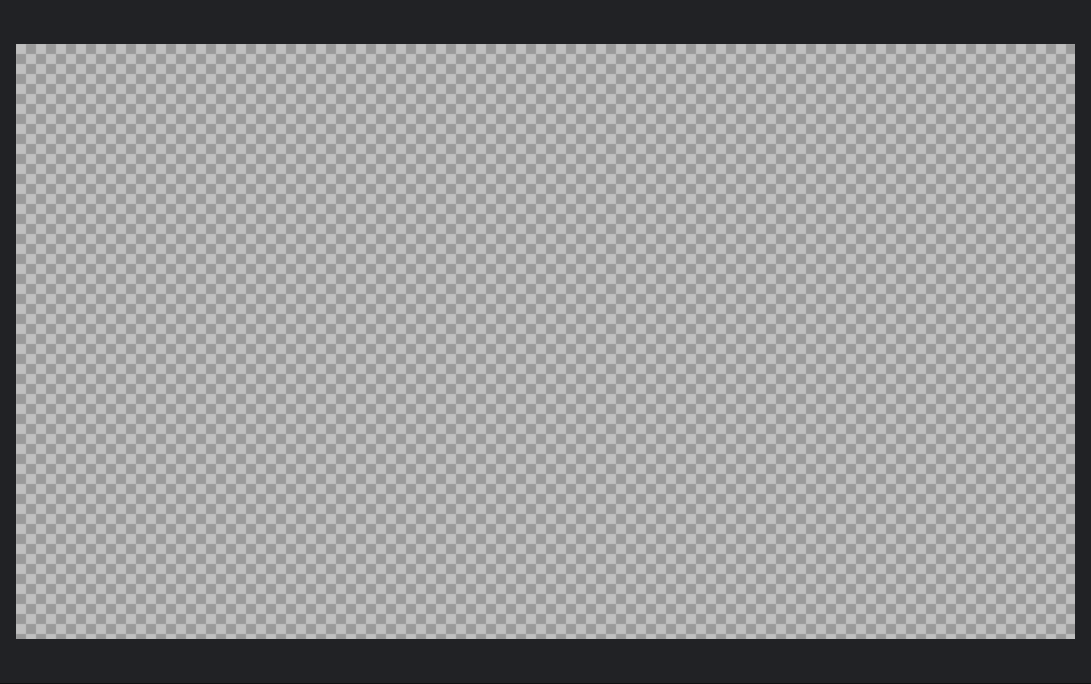
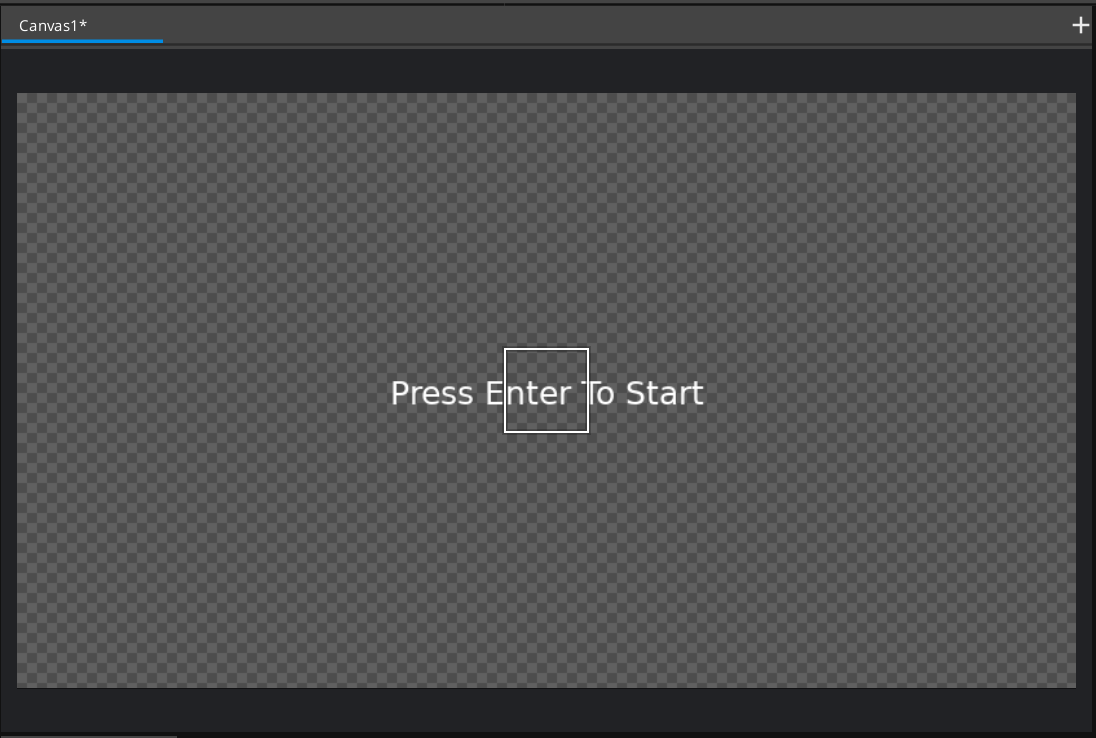
Our UI will consist of two elements: a background element which will darken
the screen and provide some separation of our UI elements and the 3d scene as
well as some text telling our player what they should do. Here's what we will
be going for:
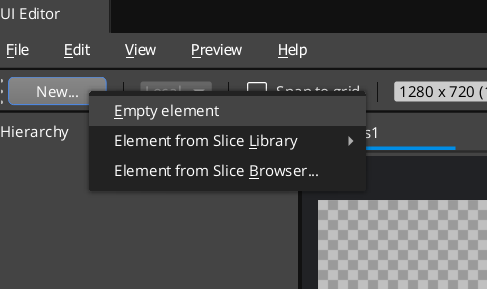
Lets start by adding the background element. From the New dropdown, select
Empty Element
This will add an empty element to our canvas. While it is selected in the Hierarchy
window, use the Properties area to rename the element to Background.
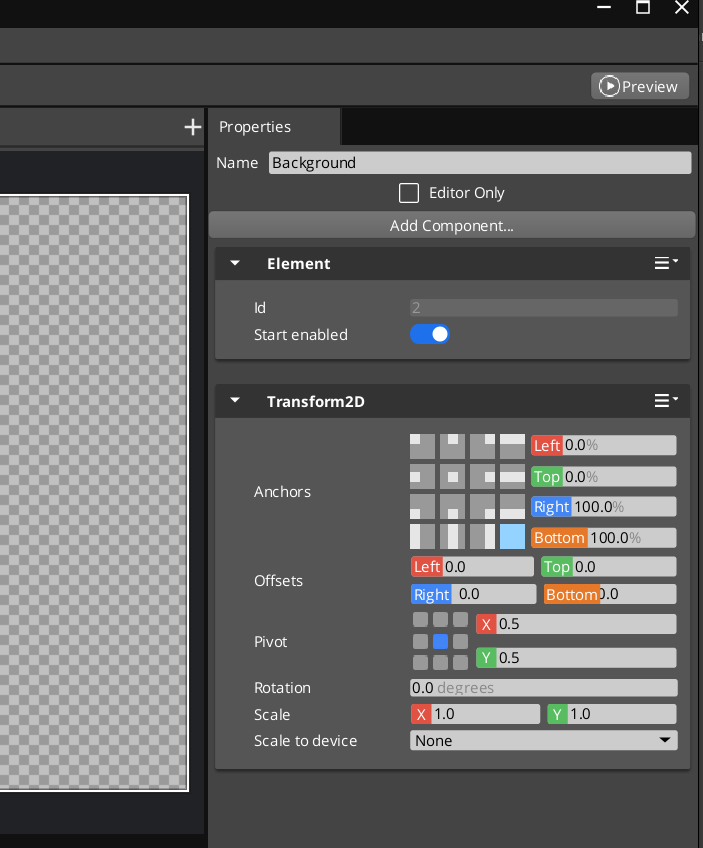
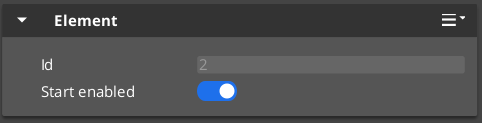
By default this element has two components. An Element component. This component
gives you a unique Id by which to reference it, as well as a toggle box to control
whether or not this element starts enabled or not.
As well as a Transform2D component, which is a little more complex. Before
we play with the Transform2D component, lets add a component to our element
so that we can see it better.
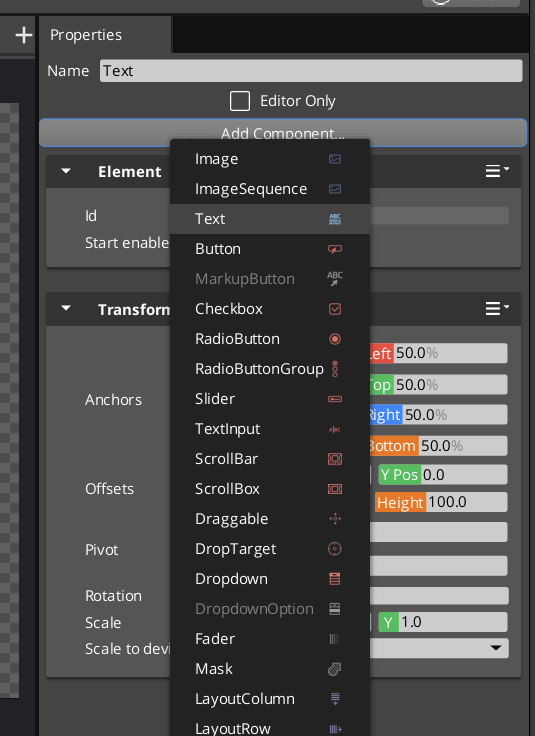
From the Add Component dropdown button select Image

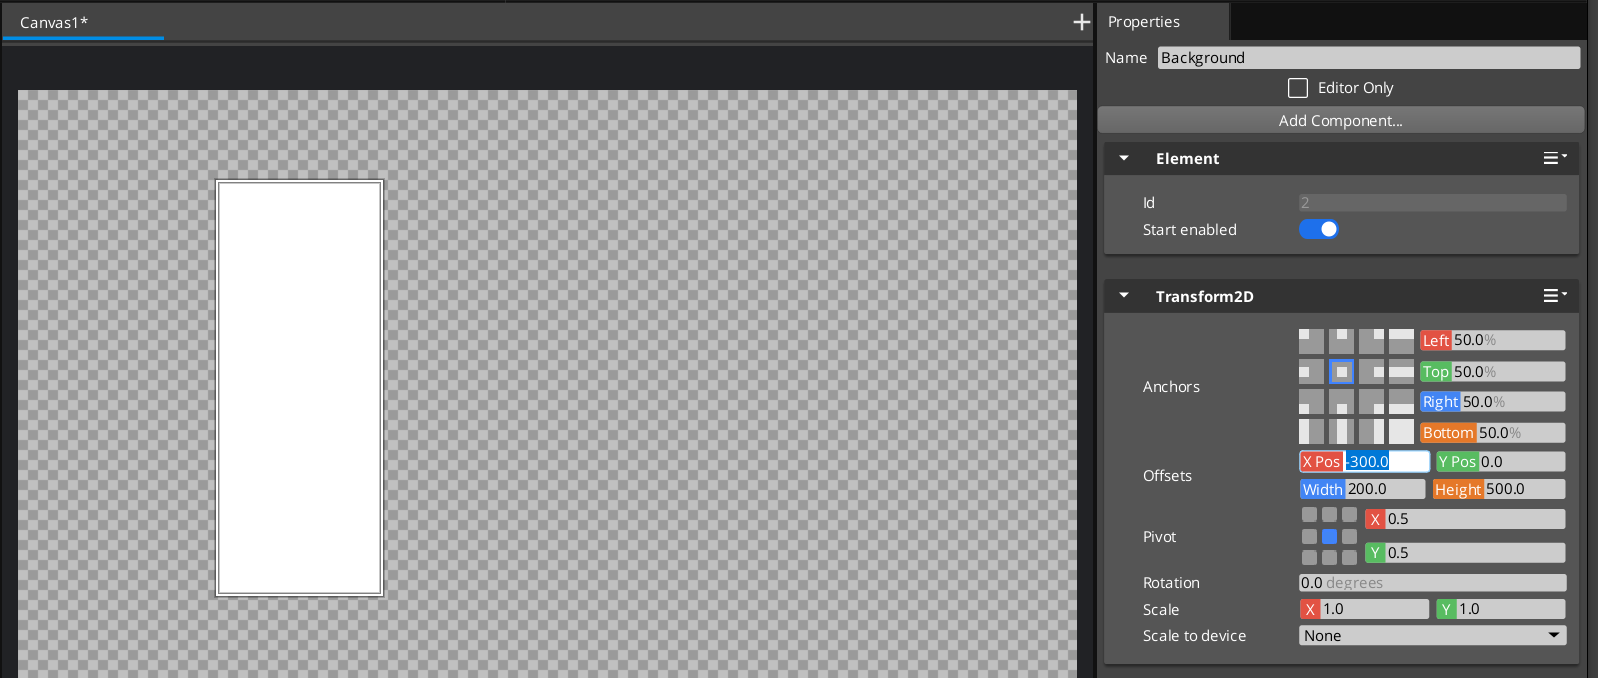
You will notice that or element has become a small white box.
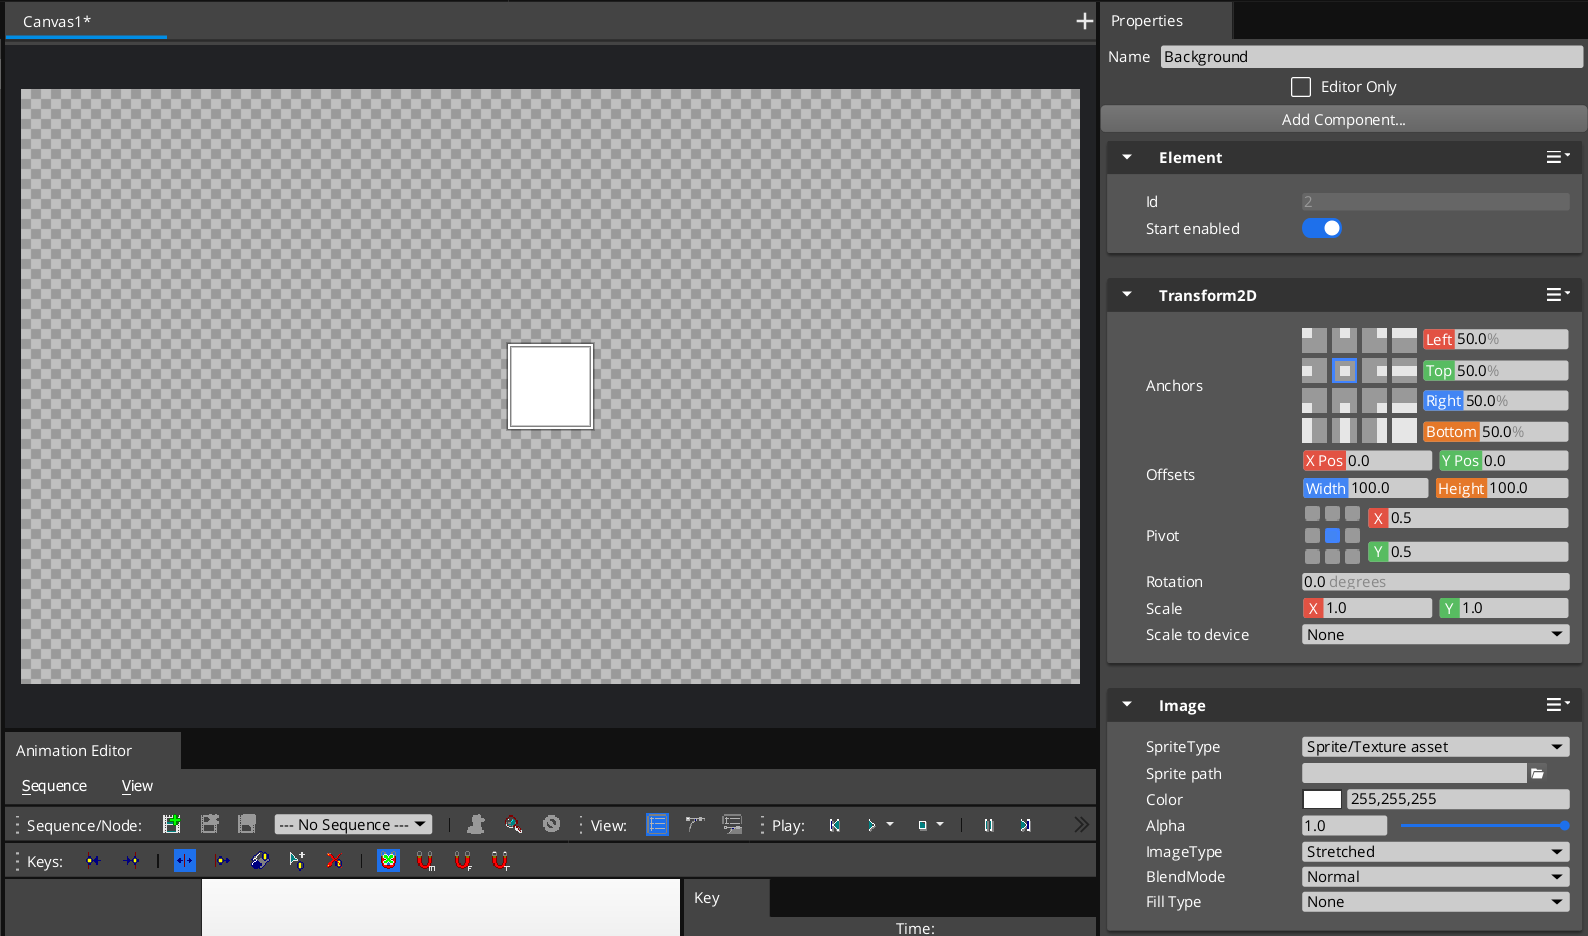
We can use the Transform2D component to control how this box is placed on
our Canvas
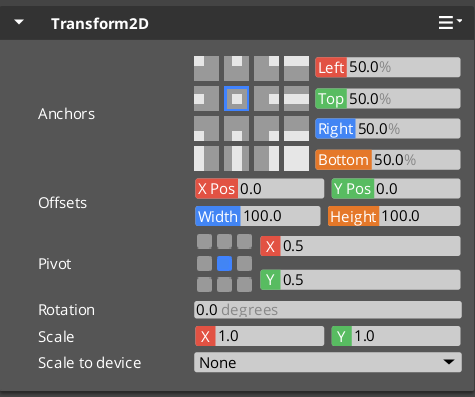
The Transform2D component gives this element the ability to have a location
on our canvas. An element's position on the canvas is defined by two sets of values.
Rather than positioning elements relative to the screen, instead each element
is positioned relative to it's parent. Anchors allow you to control what
point on the parent we want to position relative to. By default, we position
ourselves based on the center of our parent, and this gives us a set of Offsets
from this point. If we change the X Pos or Y Pos we are changing the position
relative to the center point of our parent, while width and height are absolute
values.
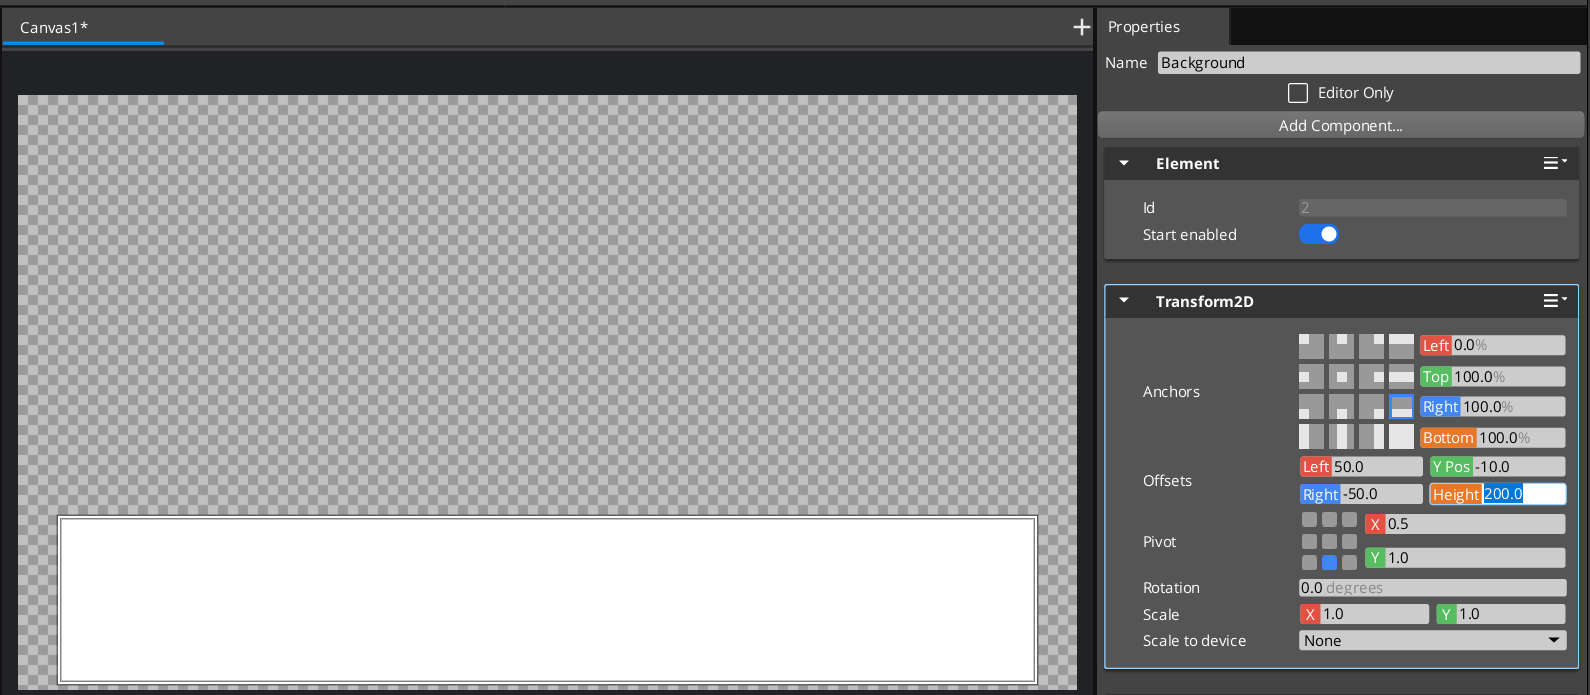
Similarly we can anchor to any corner or middle of any side of our parent, giving us relative
offsets to that point. Additionally we can anchor to a side, stretching our
element to the entire width or height of our parent, or stretch to fit the entire
parent. Note how in these modes, the offset values change to better describe
how you are positioning your element.
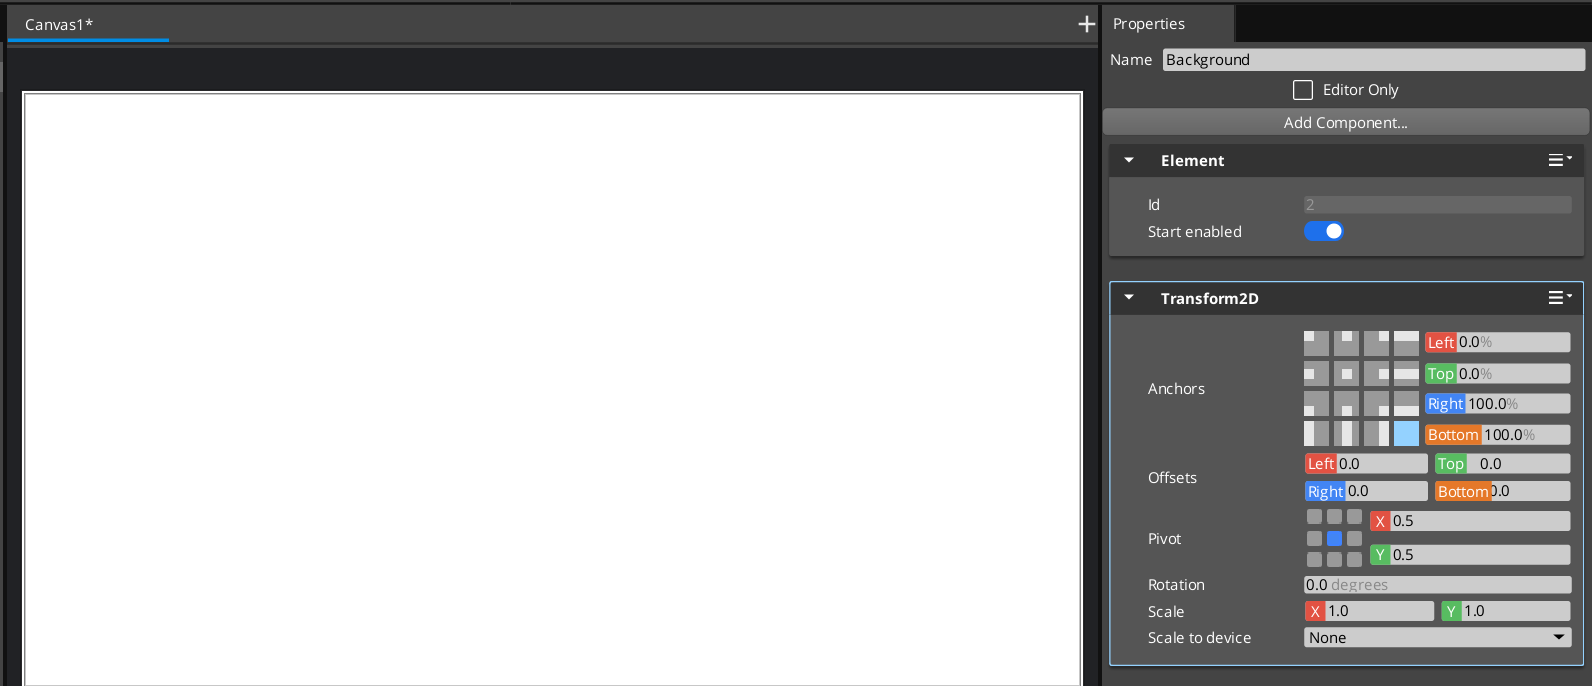
For our control, we want to fill the whole screen, so we will set our anchor
to stretch to fit our parent (in this case the canvas). We will then set
our offsets to 0, since we do not want to create any margin around the edges.
Since we don't want to flashbang our players when they launch our game, lets
tone down that hyper bright white element and make it more like the background
from our target image. Using the Image component we added, we can change the
color to be black, and the Alpha to be 0.5.
 |
 |
Next, lets add another new element using the New dropdown button and lets name
this one Text.
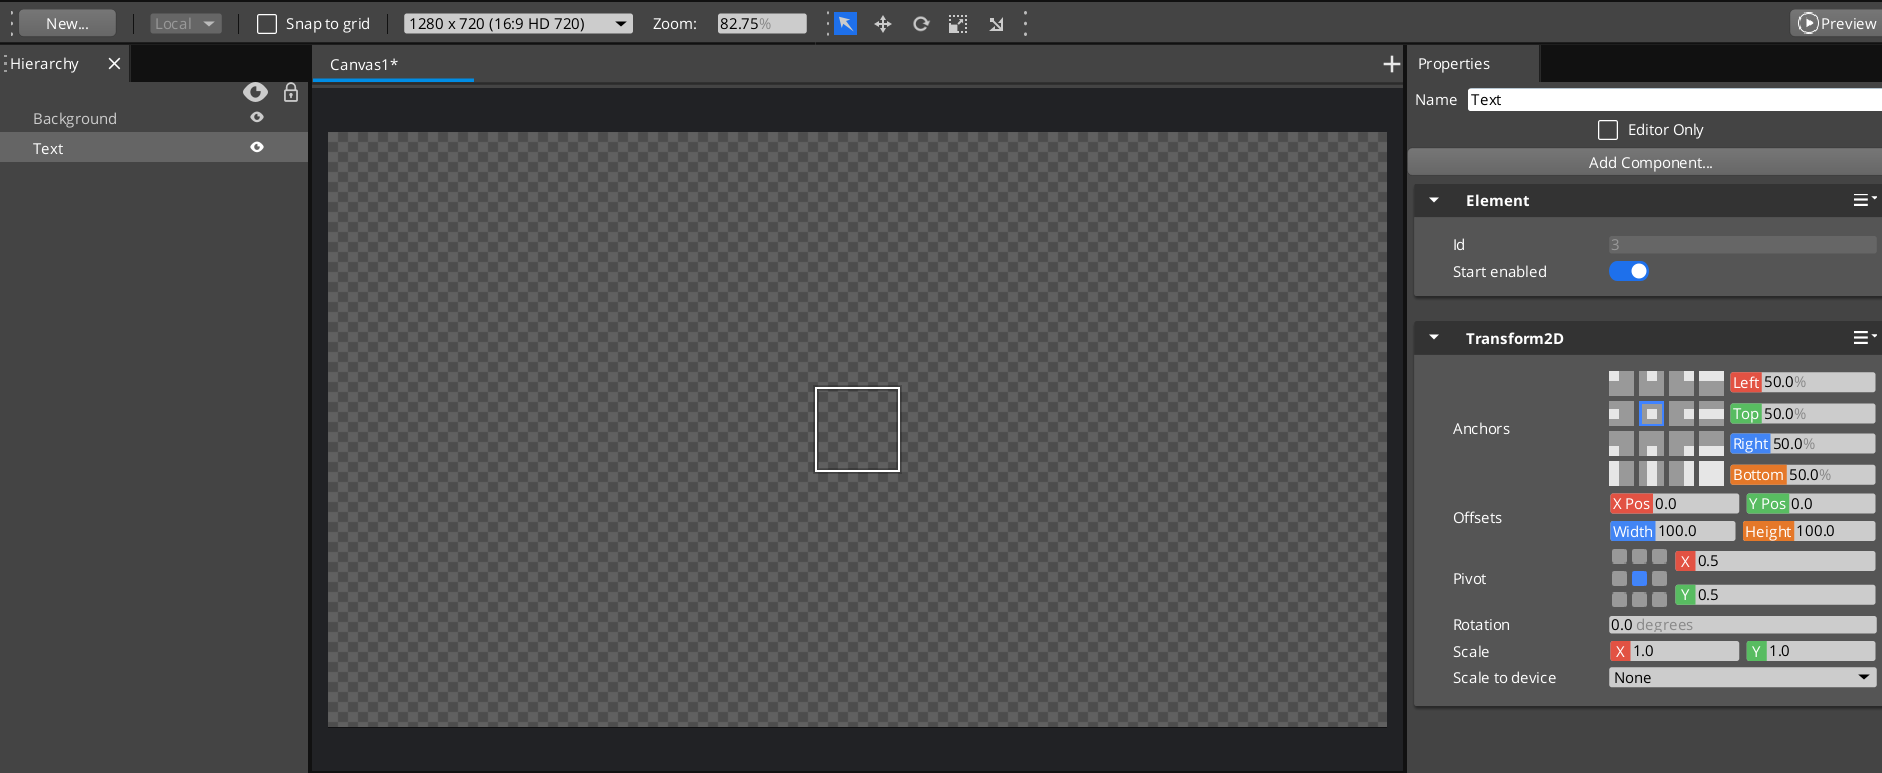
To get it to display some text, lets add a Text component.
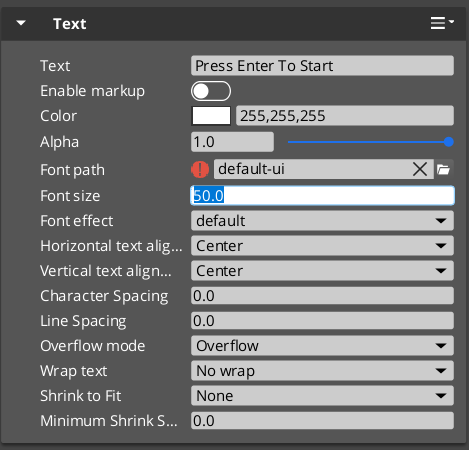
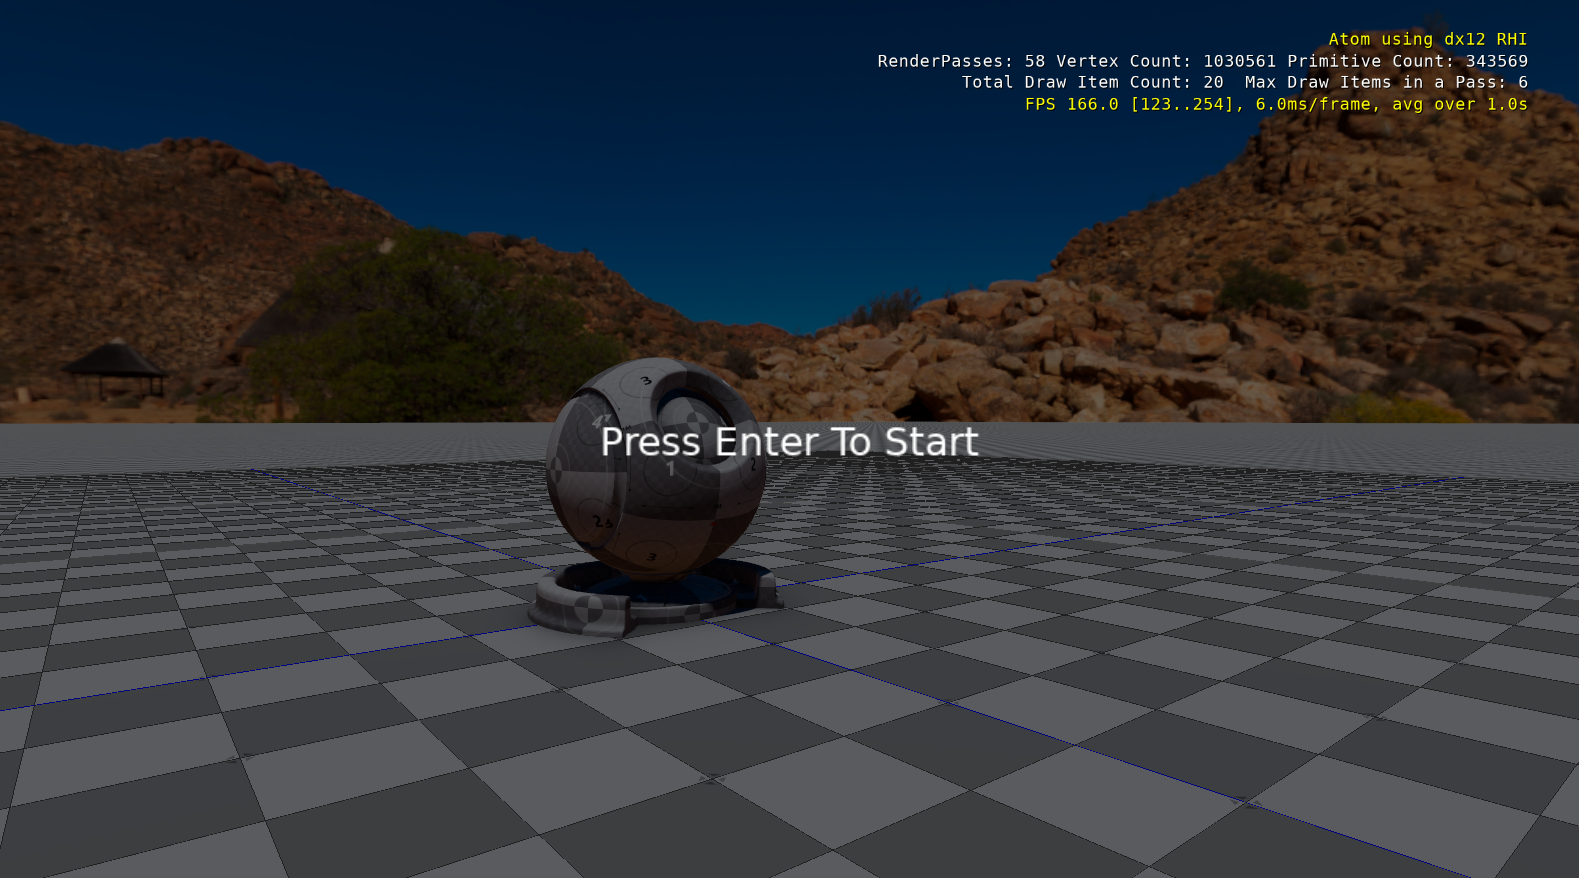
And lets modify this Text component to display the instructions for the player
to Press Enter to Start as well as play with the font size to get it to
take up a bigger portion of the screen. (We used 50.0 in this image).
 |
 |
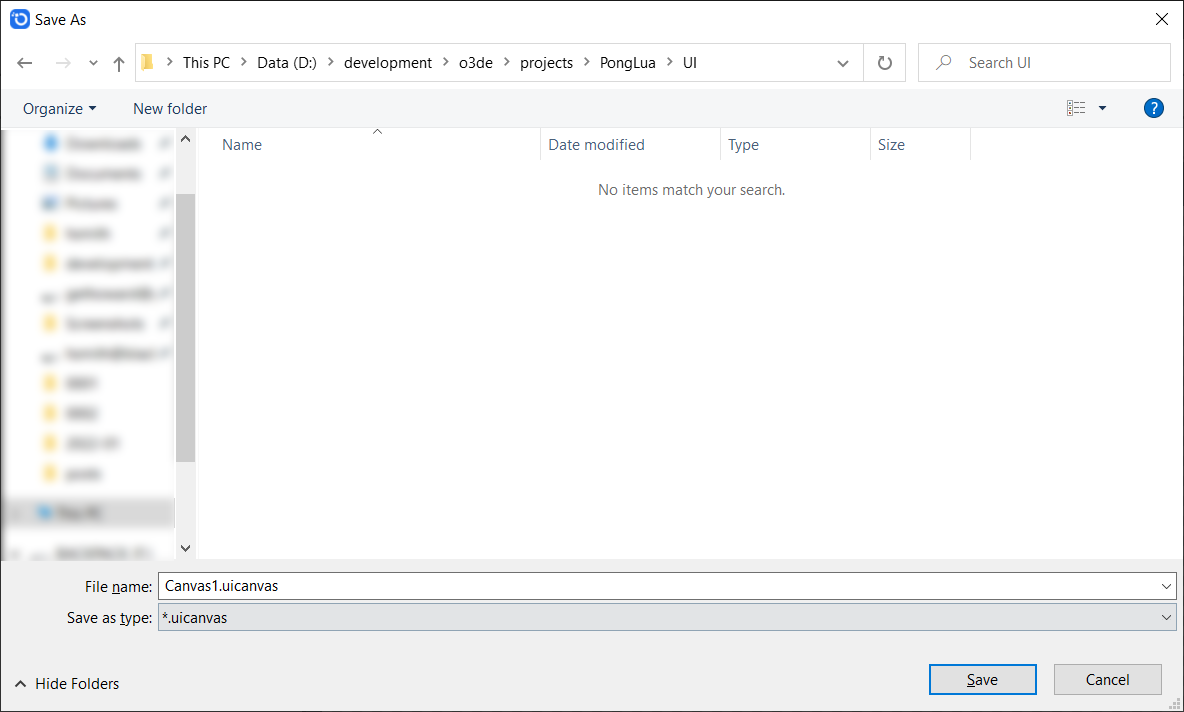
Once we get everything to look the way we want, lets save this UI layout to a
file so we can use it in our scene. Press File | Save Canvas As... and save
it into our project. I like to put it in a folder called UI and save the file
as StartMenu.uicanavs.
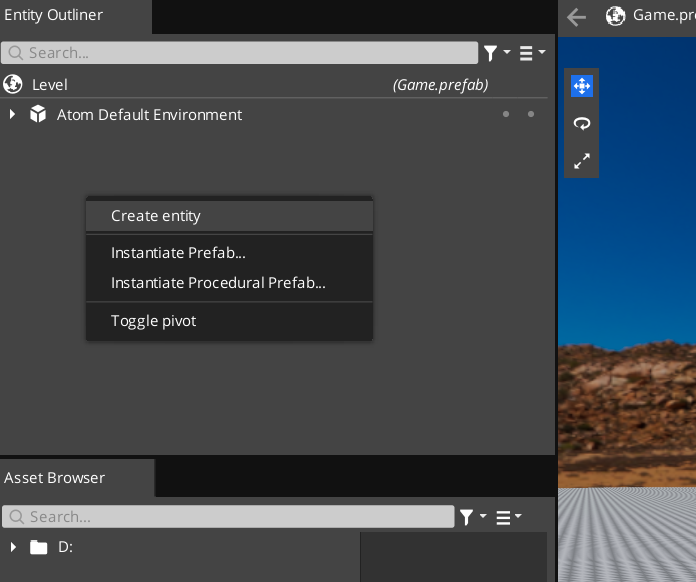
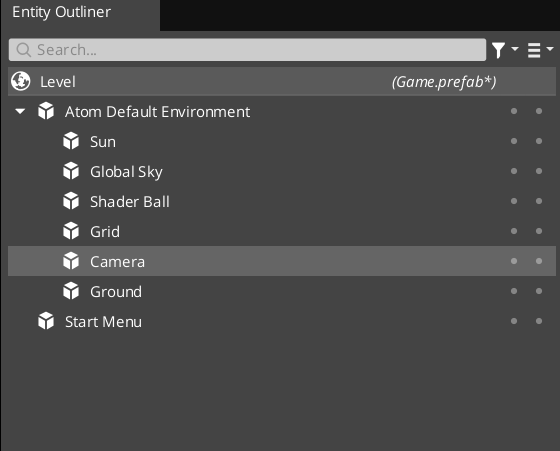
We can now close the UI Editor Window. Back in the Entity Outliner in the
main editor view, lets create an entity that will be responsible for displaying
our UI. Right click in the Entity Outliner and from the popup menu select
Create Entity. This will add a new entity to our scene called Entity1.
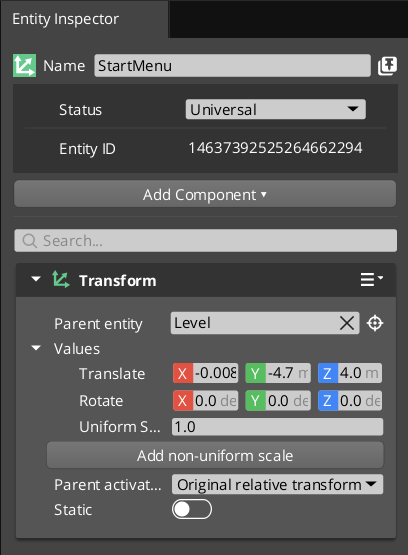
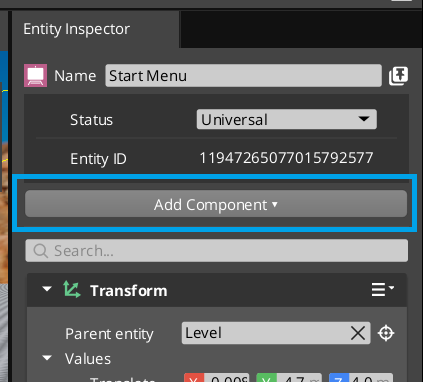
With this entity selected in the outliner, go to the Entity Inspector and
rename it to something more descriptive like Start Menu
Now we need to have it display the UI Canvas we created earlier. Using the
Add Component button, start typing to find a UI Canvas Asset Ref. This
component holds a reference to a UI Canvas Asset.
 |
 |
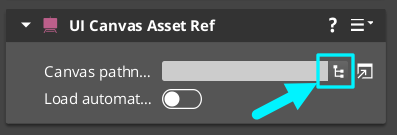
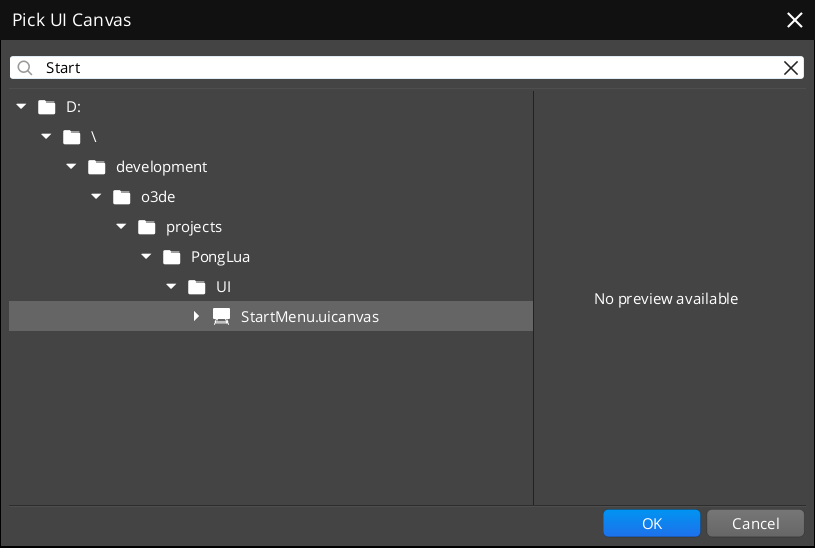
Use the button next to the Canvas pathname attribute to open a dialog that
helps us pick which canvas to assign.
 |
 |
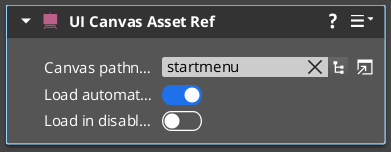
Press Okay and then back in the Entity Inspector on the Image component
make sure you enable the toggle for Load automatically. This will display
our UI as soon as our game starts.
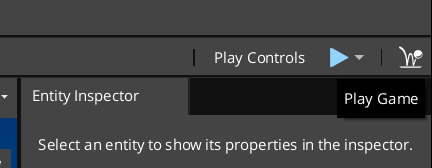
Now we can test our game by pressing Ctrl+G or pressing the Play Game button
in the upper right corner of the editor.
 |
 |
Prevent Camera Movement
Right now there is a small problem with our start menu: you can still move the
camera while it is visible! Disabling this is very easy. All we need to do
is find the Camera entity in your Entity Outliner. It is a child of Atom Default Environment.
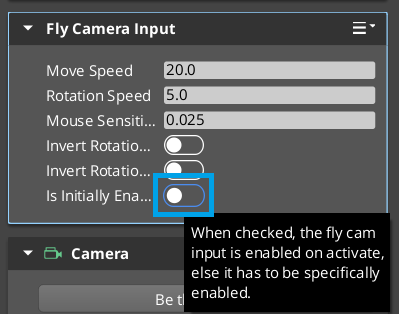
With it selected, find the Fly Camera Input component in the Entity Inspector and uncheck the
toggle that says Is Initially Enabled. This will prevent the fly camera component
(which is responsible for letting the player control the camera) from being active
at the start.
Now if you enter play mode, you will not be able to move the camera anymore.
Conclusion
Make sure to save your work with Ctrl+S or File | Save
In this guide we covered a lot of new topics, including:
- Create a canvas.
- Add and position UI Elements within a canvas.
- Add components to Entities in a level.
- Find and edit properties of components in the editor.
- Test changes in play mode.
Now we have our basic start menu displaying. In the next article we will be looking into using Lua to help us with Scripting the Start Menu