Long, long ago a young me was just starting to branch out from doing mods in Dark Forces 2, and was starting to build my own assets in custom geometry editors. (My first was a program I begged my Dad to get for me for $50 dollars called DeleD which has since gone open source. Fun fact: the original developer Jeroen Commandeur and I still speak about once a year!)
Anyway, I really enjoyed editing geometry, and hard surface modelling, but man did I HATE texturing. I avoided it like the plague and downloaded texture packs whenever I could. I'm not sure how it happened exactly, I think some part of it is I don't enjoy the process of texturing, and another part of it was that I felt like I was getting better at modelling much faster, and texturing took so much... you know ... skill. I just generally avoided it most of my life at this point.
Fast forward now some 20 years, and here I am, wanting to be more self sufficient. So I decided now that we have YouTube and CGCookie and all sorts of resources to teach you how to ART, even if you're not someone who has any aptitude, now is the time for me to try something new, push myself, and make my very ... first (literally) ...
... game texture.
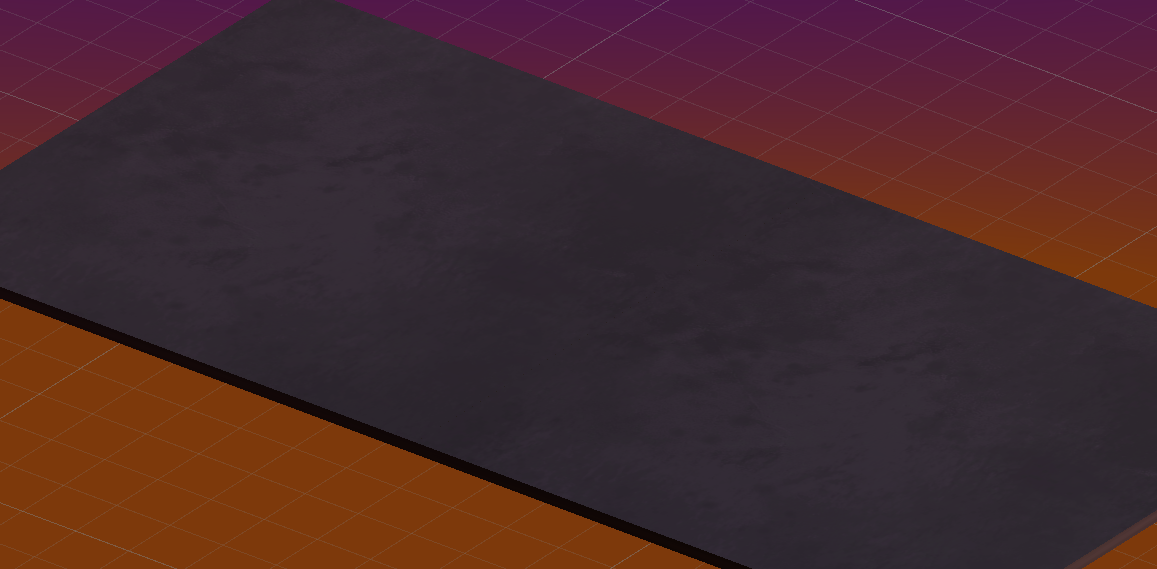
I was going for a stylized painterly pavement. Which is hard, actually, they don't have much painterly pavement resources out there. So I had to take some cues from real world pavement, and surprisingly a material called "Golmex" and some venetian plaster. Swirl it all together, grab your brush and here you go:

I think it's a little too ... impressionistic maybe, but I think pavement lets me get away with that a little more than I would with say ... wood.
Here it is in engine, first with the unity standard shader, with some Normal, AO, metallic, etc:
And again, in the same scene using my triplanar shader (which does a little flatter lighting).
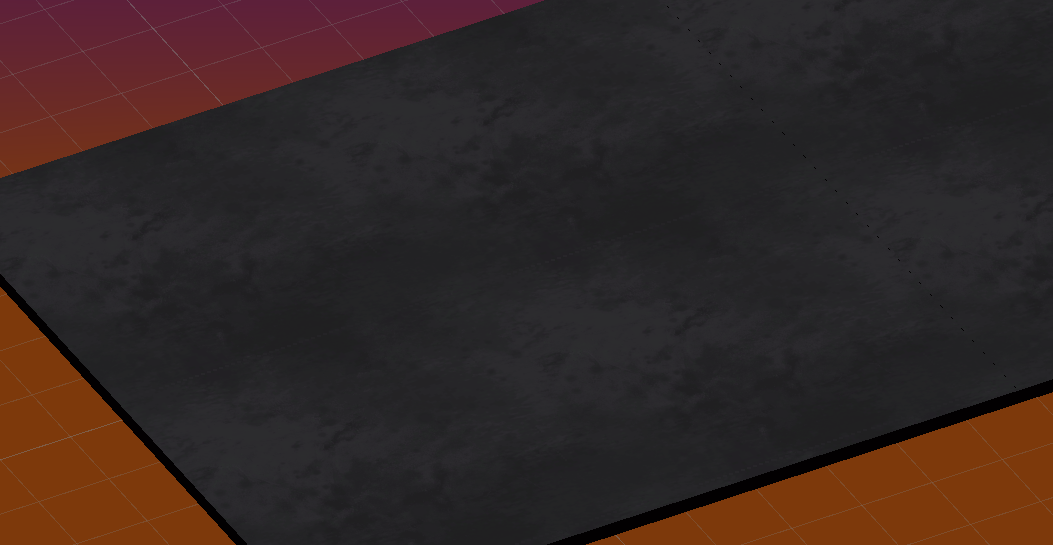
Both are just on a default cube.
I think it looked nicer before I butchered it to seamlessly repeat. Not that it looked ALL that nice to begin with. It is pretty interesting how just some impressionistic strokes can do ... something. But it's really not ... PAVEMENT yet. I think I need to focus a little more on adding some small rocks here and there to sell it, and maybe some cracks and stuff. I tried adding cracks but they came out more like scratches on leather. I'm not sure how to do like, sharp hard edges like a crack on such a soft, blobby brush-stroke-y painterly texture. I have to look at more reference.
Going to have to practice that. But still, I'm pretty happy with this first try.
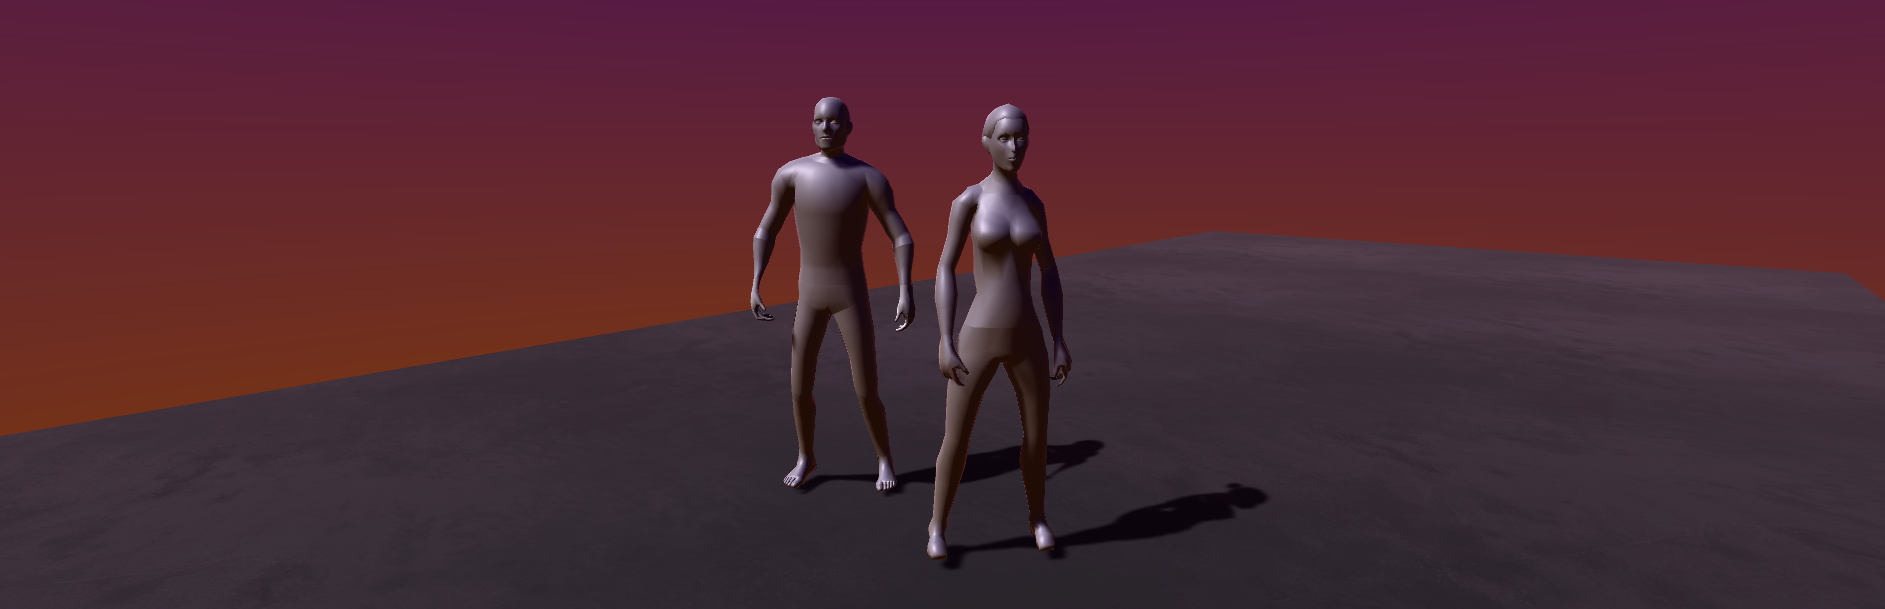
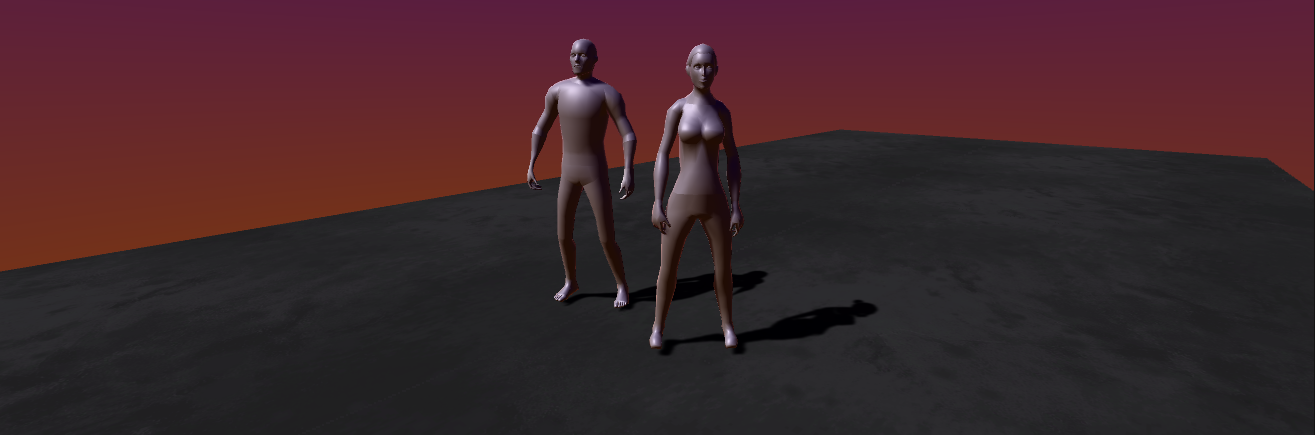
Anyway, here it is with a character for reference, I really toned down the normal map for the in game screenshots. It mostly only shows up in motion.
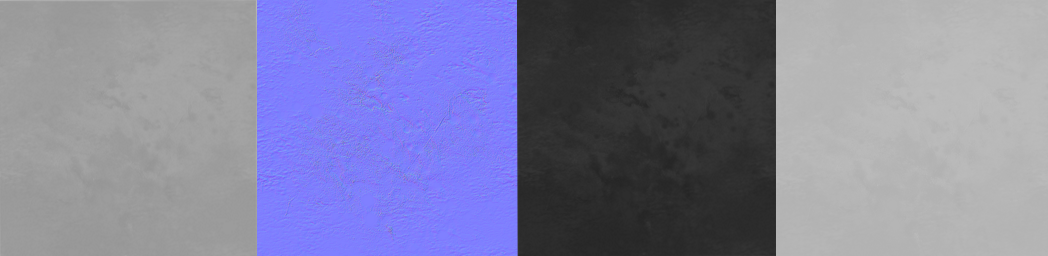
Lastly, here it is with the other baked maps if you're interested:
Maybe texturing isn't quite so bad after all? I'll let you know after finish this, and probably do a couple dozen more.
Fun fact: This may be the first game screenshot with textures that features EXCLUSIVELY my art (including that little gradient skybox shader I wrote) since I was in high school. Oh, I guess I have standard shader still on the toons and the pbr box, DANGIT!
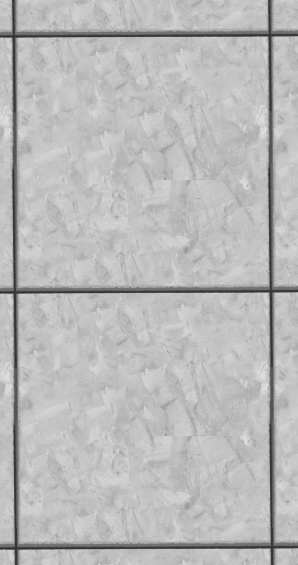
Sidewalk Preview
I started working on a sidewalk. I built the base and a variant.
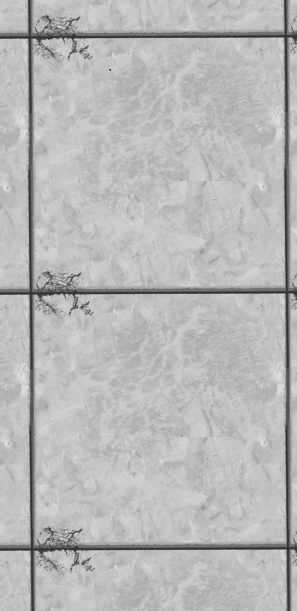
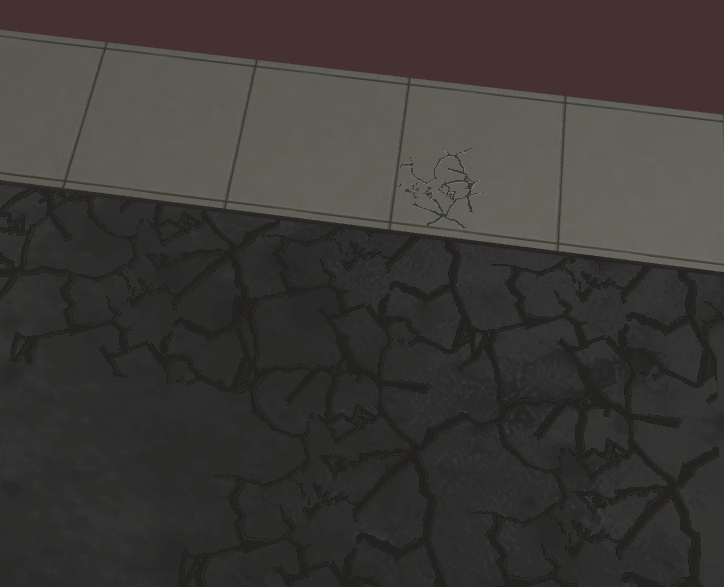
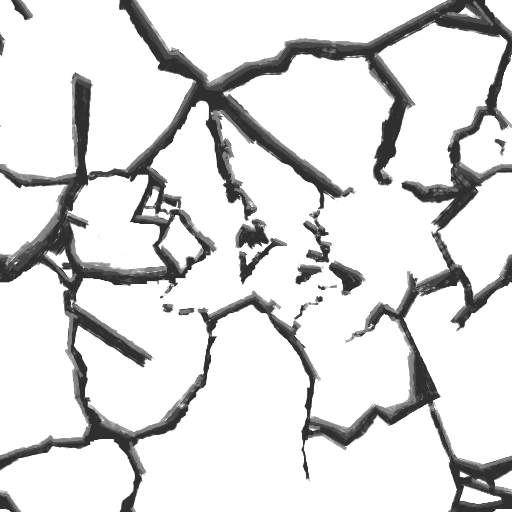
I maybe over renderered the crack, but I was just wanting more practice.

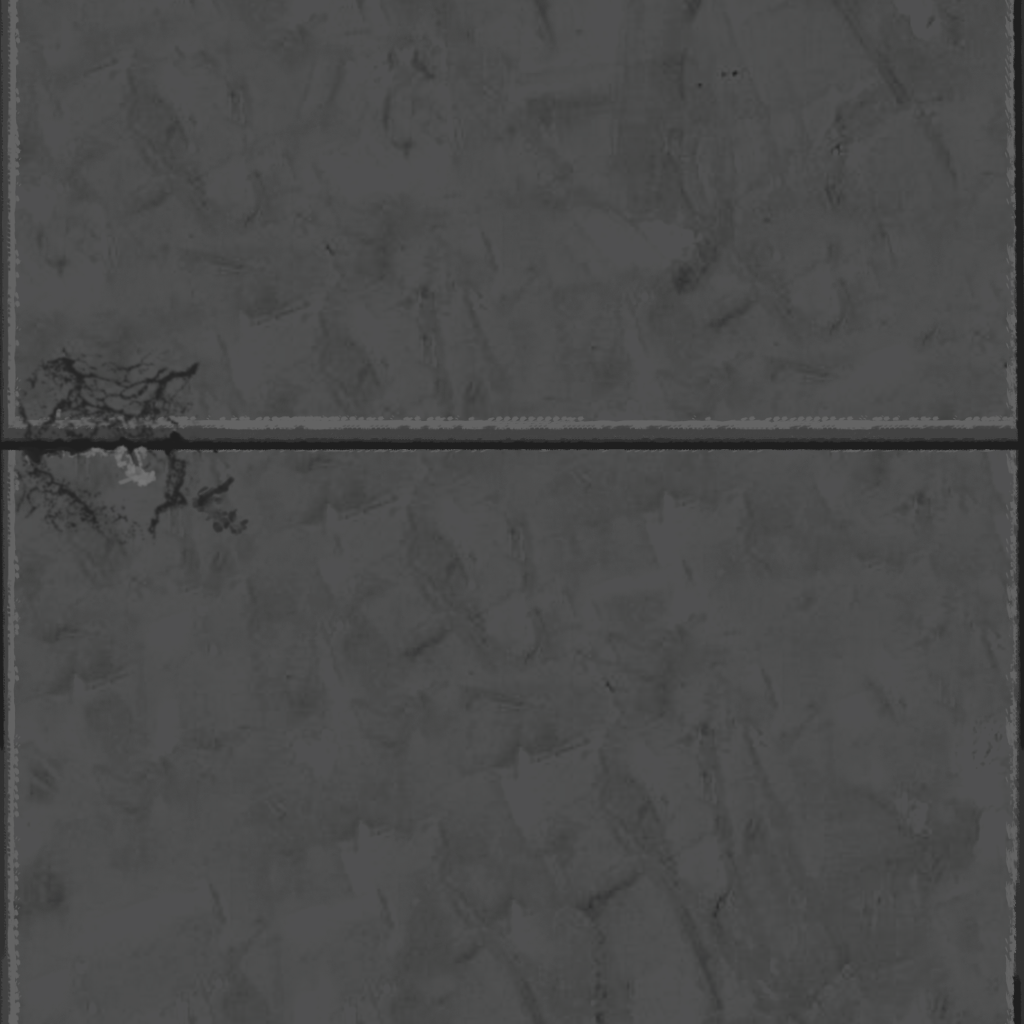
I think in general I need to simplify these textures, be far more subtle for what I'm going for. Strong color, bold lines, less ... noise. I think!
I'll keep trying see what I get.
Update March 5th
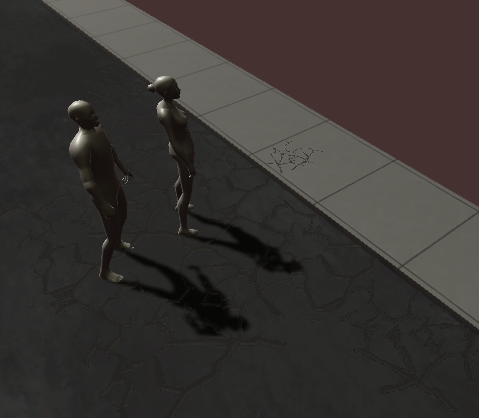
Quick update rather than making a new article, working on crack decals and stuff.
Here's some quick in-game shots. This is a little exaggerated but I wanted to get a sense of it. There's still some material work to do, and I could probably cleanup the linework. Also I turned down the detail on the sidewalk because they were really intense. I think all new artists, clearly including myself, have a tendency to not be subtle enough, and I know I tend to overdo things because when I've been staring at the same pixels for 4 hours straight, I start to lose my ability to detect subtlety haha.
I also turned down some of the nosie on the cracks and just focused on the big, chunky bits and highlights.

Tutorials Used
Here's a list of YouTube videos I've watched, I'm putting them here mostly so I can find them again, but maybe someone actually reads these devlogs and will find them interesting.